Navigating the Build: Basement Finishing Construction Process
Understand the Phases Prior to Construction
One of the most common questions we get is how much does a basement finish cost in Des Moines, IA?
We built a custom basement finish cost calculator that you can use to get a rough idea of how much your basement finish will cost. Simply answer a handful of questions and our calculator will give you a price range.
After calculating your instant estimate, it is best to schedule your on-site appointment. During this time we will refine your cost and come to a fixed price. All of this happens during the on-site appointment using our proprietary basement cost calculator. No longer must you wait around days or weeks to receive your esimtate!
After the on-site appointment a copy of the proposal will be emailed for your review. Take some time to consider the basement proposal and let us answer any questions you may have.
Within 24 hours of the on-site appointment, we will send you a concept design which includes drawings and 3D renderings.
Wet bar, home theater, bathroom, fitness center? We can include it all in your drawings!
If the proposal and concept design are within your budget and you like we have to offer, it is time to move on with design refinement. This includes finalizing all material selections, updating drawings and 3D renderings, and coming to a fixed price contract.
Once complete, everything is signed off and we are getting close to your project start!
Pre-construction starts as soon as the design approval is complete. During this phase, we will be aligning labor resources and obtaining the needed materials for your project.
It’s time! There is a lot that goes in to a project prior to start but the time has come!
Typically, our team will begin the project ASAP with the main bottleneck being material lead times. Pending material selections that could mean starting right away or waiting a few weeks while materials arrive.
During the construction phase, you will have online access to our project management platform to view your project schedule, receive daily updates, progress photos and more.
Navigating the Build: Basement Construction Phases
Understand the Phases Once Basement Construction Begins
Roughs – Ins (2 Weeks)
Framing: Framing involves the structural skeleton of your basement, creating the framework for walls, ceilings, and any other necessary structural elements.
HVAC: HVAC installation ensures optimal heating, ventilation, and air conditioning throughout the finished basement, providing comfort and maintaining air quality. This includes running supply and return air vents in the basement.
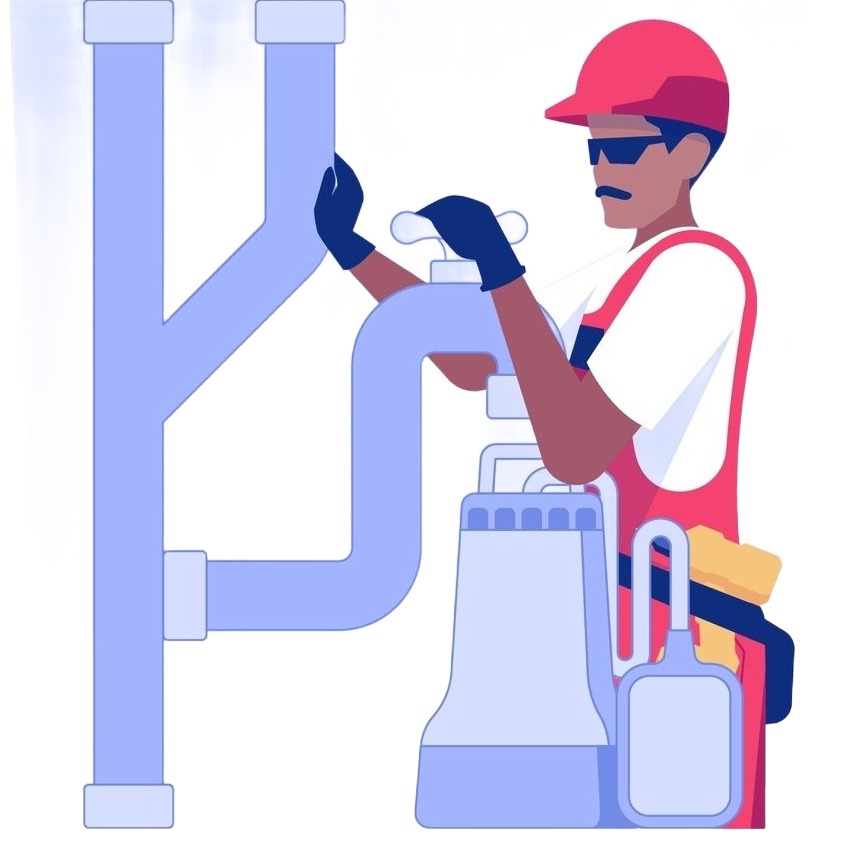
Plumbing: Plumbing work involves installing or modifying plumbing drain and water lines for systems such as sinks, toilets, and drainage to accommodate the needs of the finished space.
Electrical: Electrical work encompasses installing wiring, outlet and switch boxes to provide for the future electrical components of the basement.
Inspection: Inspection involves a thorough assessment and verification of all completed work by a city official to ensure compliance with building codes, safety standards, and quality requirements before finalizing the rough in phase.

Trim (1 Week)
Door Installation: Mount doors and secure them within their frames, ensuring they open and close smoothly and align properly with the surrounding walls.
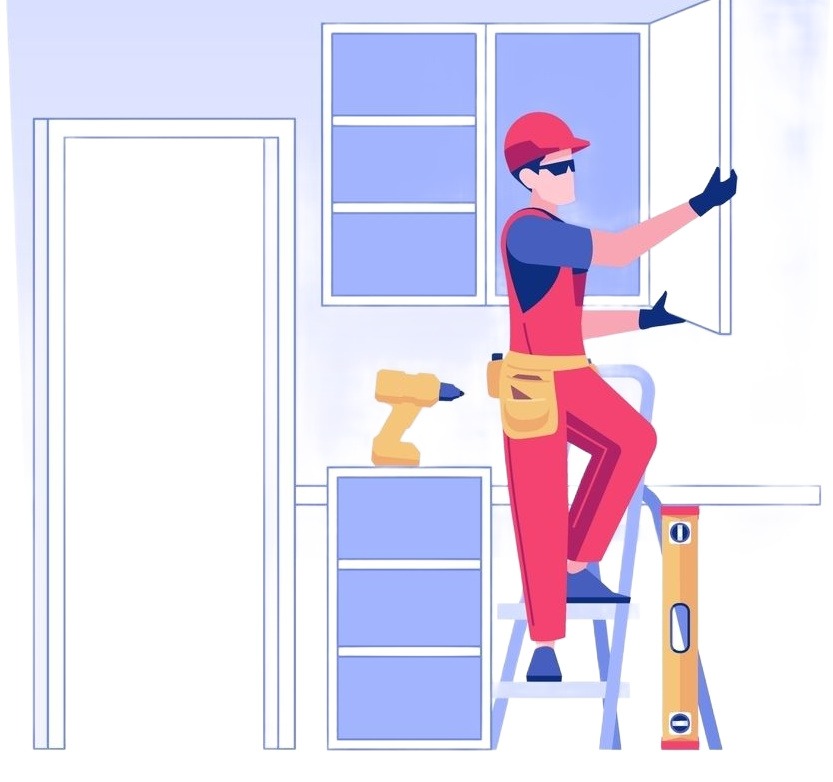
Cabinet Installation: Position and secure cabinets onto the wall or floor according to the layout plan, ensuring they are level, properly aligned, and securely anchored.
Baseboard and Casing Installation: Attach baseboards along the bottom of walls and casings around doors and windows, securing them in place with nails or adhesive and ensuring they are level and aligned with the surrounding surfaces.

Paint (1 Week)
Surface Preparation: Prepare the walls by cleaning them, filling any holes or cracks, and applying primer to ensure proper adhesion and a smooth finish.
Trim and Detail Painting: Paint the trim, including baseboards, casings, and crown molding, as well as any other detailed areas such as doors and windows.
Cutting In: Use a brush to carefully cut in along the edges of the walls, ceilings, and trim, ensuring clean lines and coverage in areas where a roller cannot reach.
First Coat: Use a sprayer / roller to apply paint to the main wall surfaces.
Second Coat: Apply a second coat of paint to ensure full coverage and a uniform finish, allowing the first coat to dry completely before proceeding.
Touch-Ups: Inspect the painted surfaces for any missed spots, drips, or imperfections, and touch up as needed before the paint fully dries.

Finishings (2-3 Weeks)
Flooring: Install the chosen flooring material, ensuring proper measurements, alignment, and installation technique for a finished look.
Countertops: Install countertops in designated areas, such as the vanity or bar.
Plumbing and Electrical Finals: Complete the final connections and installations for plumbing fixtures, such as sinks and faucets, and electrical fixtures, such as outlets and light switches, ensuring they are functional and meet safety standards.
Hardware Installation: Install hardware such as cabinet knobs, drawer pulls, door handles, and other decorative or functional hardware.
Touch-ups: Perform any necessary touch-ups to correct minor imperfections in paint, trim, or other finishing details, ensuring a polished and cohesive overall appearance.


